How We Make a Dental Crown: A Simple Guide for Patients
Dr. Yasin Al-Safadi
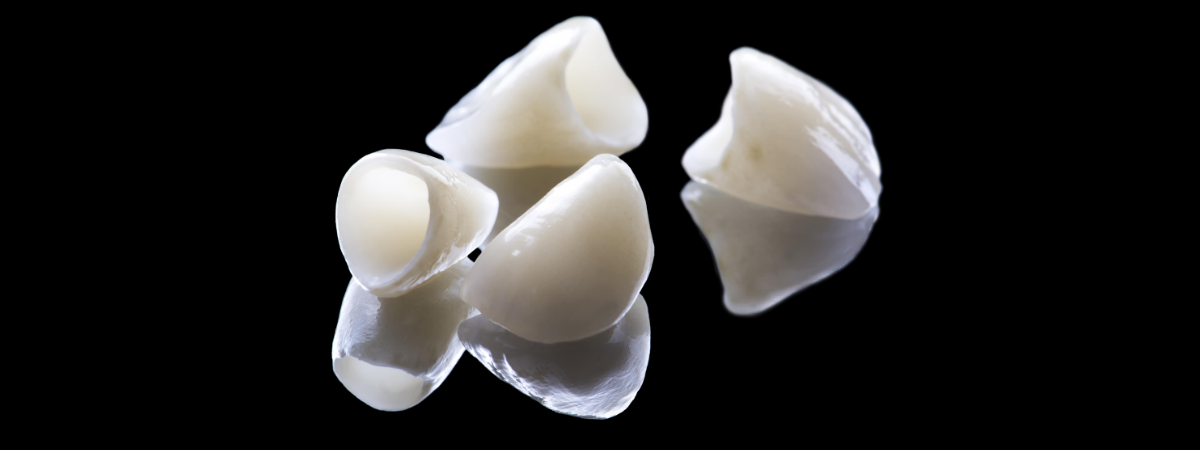
If your dentist has recommended a crown, you might be wondering what the procedure involves. Don’t worry, it’s simpler than you think. A dental crown is basically a strong, custom-made “cap” that goes over your natural tooth to protect it, restore its strength, and bring back its natural look.
In this blog, I’ll walk you through the process in easy, patient-friendly steps.
1. First Step: Making You Comfortable
Before we start, we numb the area around the tooth to make sure you feel no pain during the procedure. Most patients say they feel only slight pressure, but not pain.
2. Preparing the Tooth
To fit the crown properly, the tooth needs to be shaped.
We remove any decay, old fillings (if needed), and smooth the tooth so the crown can sit perfectly. This is a quick and safe process.
3. Taking an Impression or Digital Scan
Next, we take a mold or a digital scan of your tooth.
This step is important because it helps create a crown that matches:
- Your bite
- Your gumline
- The natural shape and color of your teeth
This is what makes the crown look and feel like it’s your own tooth.
4. Temporary Crown
While your final crown is being made in the lab, we place a temporary crown to protect your tooth.
You’ll use it normally, but we’ll ask you to avoid very sticky or hard foods on that side until the final crown is placed.
5. Fitting the Final Crown
A few days later, you return for your final crown appointment.
Here’s what we do:
-
Remove the temporary crown
-
Try in the permanent one to check the fit, bite, and color
-
Make any small adjustments if needed
-
Cement the crown securely in place
Once it’s bonded, your tooth is fully protected and ready to use.
The Result: A Strong, Natural-Looking Tooth
Your new crown will look and function like a natural tooth.
You can chew comfortably, smile confidently, and keep the tooth for many years with good care.